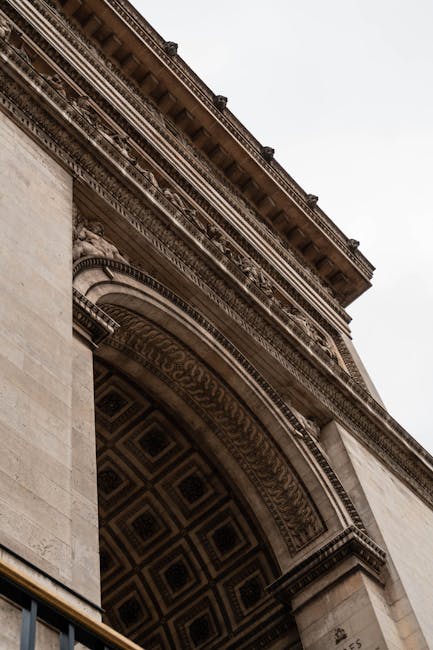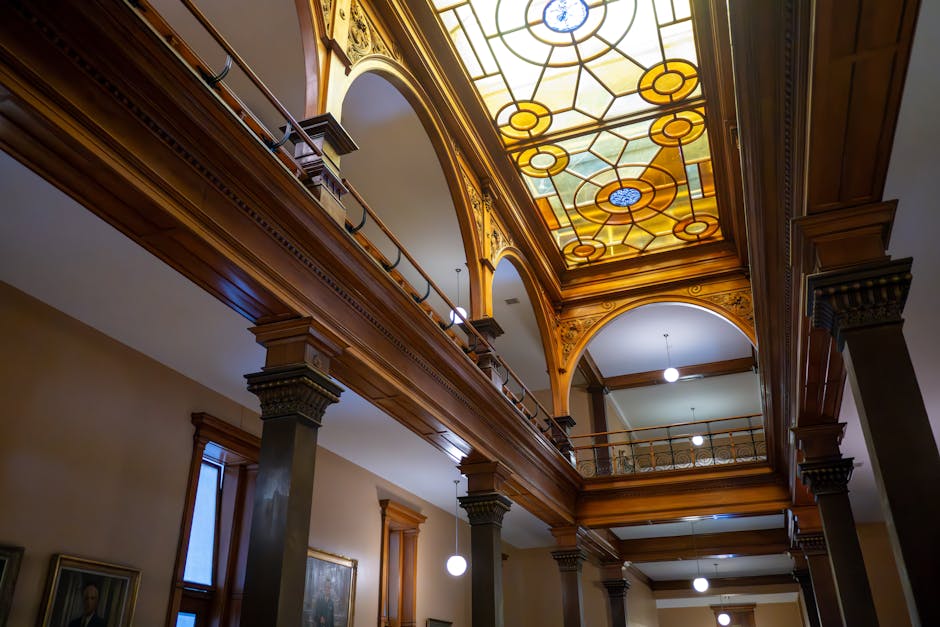






Introduction: how shooting from ground level reshapes the city
Shooting “at ground level” isn’t just a stylistic trick — it’s a way to rediscover a city, make it feel intimate, surprising, and sometimes even mysterious. Lowering your camera just a few centimeters above the pavement completely changes the usual perspective of a pedestrian or an eye-level photographer. Lines that once seemed ordinary turn into dynamic trajectories; cobbles, seams and puddles gain new importance; human silhouettes are framed differently, stretched or monumental depending on the angle. For a thirty-something traveler — curious, often in a hurry, but wanting original images for social feeds or a personal album — this approach is a quick, effective way to refresh your visual output without heavy gear or complicated permits.
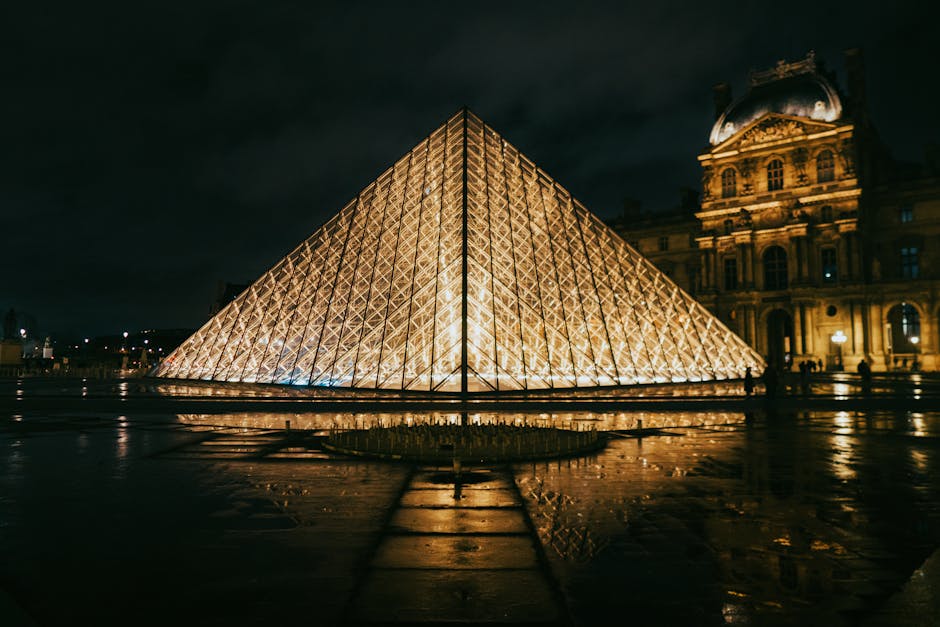
At ground level, light can work wonders: it slips under cars, skims stair edges and creates reflections in the drops of a passing rain. The textures of façades, cobblestones and tram rails become powerful foregrounds, giving relief to distant monuments. And because you’re shooting from an unusual position, even very touristy spots like the Eiffel Tower or the Louvre regain an almost intimate freshness.
This practical guide is aimed at knowledgeable amateurs and thirty-something travelers who want striking images that are both narrative and aesthetic. You’ll find concrete techniques (exposure, focal length, depth of field), precise urban references (full names, addresses, opening hours and prices), and local tips for shooting efficiently without getting in the way. The approach is immersive: I describe shooting points — for example a perspective from the base of the column at Place de la Concorde or a low framing along the Seine quays — with tips for weather, ideal times and minimal gear (smartphone, pocket tripod, wide-angle lens or a simple 24–70mm).
Shooting at ground level is also an invitation to look with empathy: you notice neglected details (inscriptions on grilles, patterns on drains, traces of the seasons), you observe urban movement (cyclists, trams, crowded sidewalks) and you capture the soul of a neighborhood. Let these tips guide you, try low angles in the early morning or after rain, and above all learn to tell a story with a strong foreground and a speaking background. The following pages present emblematic locations and practical approaches to transform your urban shots.
Essential techniques and gear for working at ground level
Before you head out, a few technical choices will ensure sharp, impactful images. For gear: a recent smartphone or a mirrorless camera is enough. Add a small flexible tripod (Joby GorillaPod type) or a stable support to place the camera a few centimeters from the ground. A remote shutter or the timer will prevent micro-shake. Optically, a wide-angle lens (24–35mm) amplifies the sense of depth; a 50mm can isolate a subject with pleasant compression. If you’re using a smartphone, enable Pro/RAW mode to control exposure and white balance.
Recommended settings: stop down to between f/5.6 and f/11 to keep good depth of field when the subject is close, and use a minimum shutter speed of 1/125s to freeze passing pedestrians. In low light, raise ISO cautiously; prefer long exposures on a tripod to capture light trails from traffic. Think about manual focus or AF lock on the foreground (cobble, grille) so the ground texture is ultra-detailed. Backlight can become your ally: position the low sun behind a vertical element (lamp post, column) to create silhouettes and halos.
Composition: use a low horizon to give maximum space to the foreground. Leading lines — tram rails, curb edges, rows of cobbles — guide the eye to a monument: the Eiffel Tower, Arc de Triomphe, Sacré-Cœur Basilica. Experiment with symmetry (exact center) or the rule of thirds by placing a point of interest at one third of the frame. Reflections in a puddle become a perfect mirror after rain: crouch until the water fills the lower half of the frame and wait for passersby to stage little stories inside the reflection.
Permits and ethics: photographing in public space in France is generally allowed, but for tight portraits of recognizable people you must ask explicit consent if the photo is intended for commercial publication. Respect religious sites (e.g., Sacré-Cœur Basilica, 35 Rue du Chevalier de la Barre, 75018 Paris) and check indoor rules: the basilica is open from 06:00 to 22:30 with free entry, but worship areas require silence and decorum. Practical note: avoid high-cycle-traffic zones when you’re crouched down, wear a visible vest at night and set your tripod outside main walkways.
Four emblematic spots to revisit from ground level
Paris is an endless playground for low angles. Here are four specific sites with addresses, hours, prices and tips for ground-level shots that will make a real visual difference.
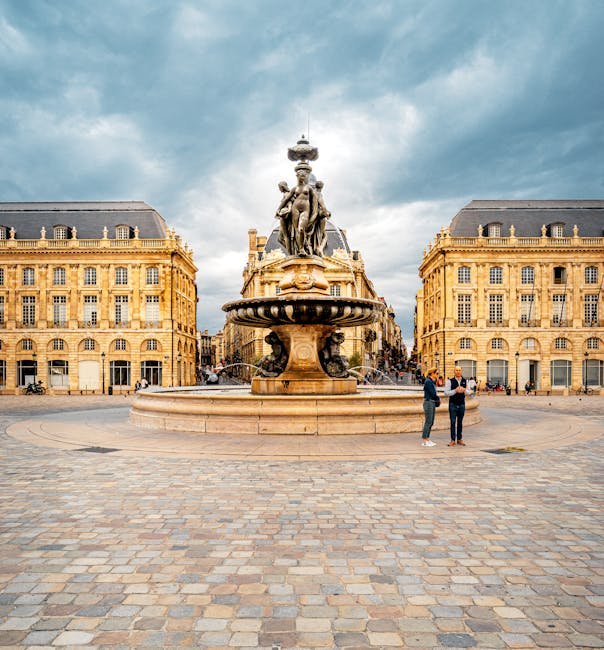
Place de la Concorde and the Obelisk
Location: Place de la Concorde, 75008 Paris. Highlight: the Luxor Obelisk and the fountains. Hours: the square is accessible 24/7. Price: free outdoors. Technique: position the camera 10–20 cm from the ground near a grille or paving stone to capture the texture of the surface and let the obelisk rise in the background. Morning (6:00–8:30) low light sculpts the columns and reduces crowds. Watch for vehicles on the square; favor pedestrian islets. Local tip: stand on the Tuileries Garden side to include symmetric paths and water jets in the lower part of the frame.
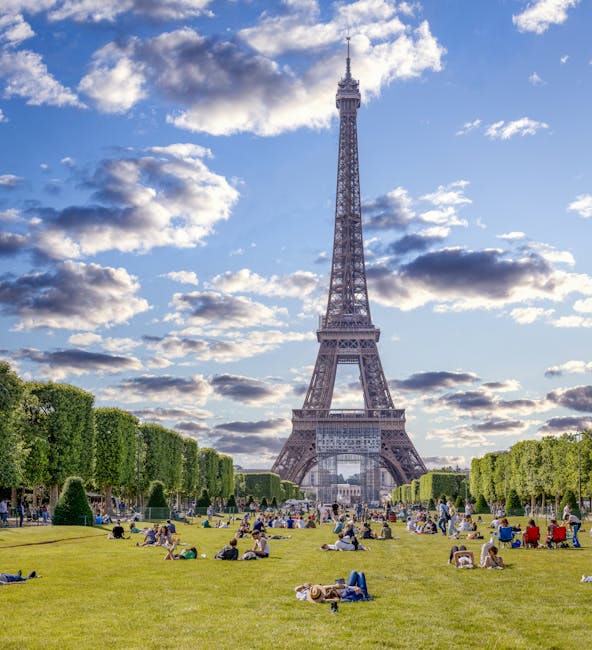
The Eiffel Tower from the Champ de Mars
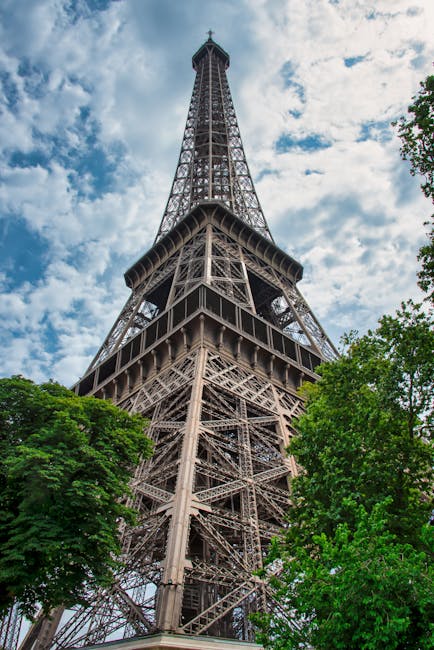
Location: Eiffel Tower, Champ de Mars, 5 Avenue Anatole France, 75007 Paris. Hours: variable, generally 09:30–23:45 (access to levels depends on season). Price: top access around €19.30, stairs to the 2nd floor around €11.50 (indicative prices). Technique: place the camera at the level of the southern slabs of the Champ de Mars for a foreground of grass or wet paving and pull the viewer’s eye up towards the metal base. At the end of the day, the tower lights up — capture the sparkles with a long exposure from a low tripod. Practical tip: arrive before sunset to scout the angle without the crowds and use a 24mm lens to include the ground and the tower without excessive distortion.
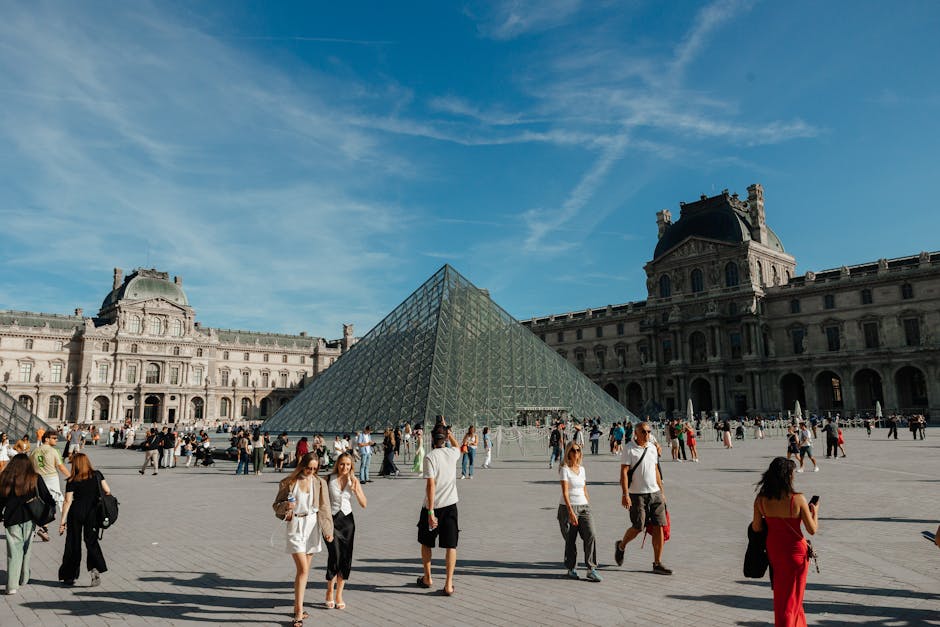
Rue de Rivoli and urban perspectives
Location: Rue de Rivoli, 75001–75004 Paris (running through several arrondissements). Highlight: rows of arcades, Haussmannian façades. Shop hours: typically 10:00–19:00 (varies). Technique: crouch at the entrance of an arcade for a frame that highlights the rhythmic repetition of columns. Checkerboard paving or stone joints become guiding lines toward distant elements like the Hôtel de Ville (Place de l’Hôtel-de-Ville, 75004). Avoid peak tourist hours (11:00–16:00); wander early in the morning to capture shopkeepers opening shutters and streets gleaming after rain.
Sacré-Cœur and the stairs of Montmartre
Location: Sacré-Cœur Basilica, 35 Rue du Chevalier de la Barre, 75018 Paris. Hours: basilica open 06:00–22:30, dome and crypt hours variable (check on site). Price: basilica entry free; dome access paid, around €6 (indicative). Technique: sit at the foot of the steps and capture the flow of tourists and street musicians, using the stairs as leading lines. In the evening, the view over Paris in the background creates compositions that mix stair texture and urban panorama. Tip: keep your belongings close and be courteous to other visitors — Montmartre is lively but narrow.
Narrative compositions: telling the city’s story through the foreground
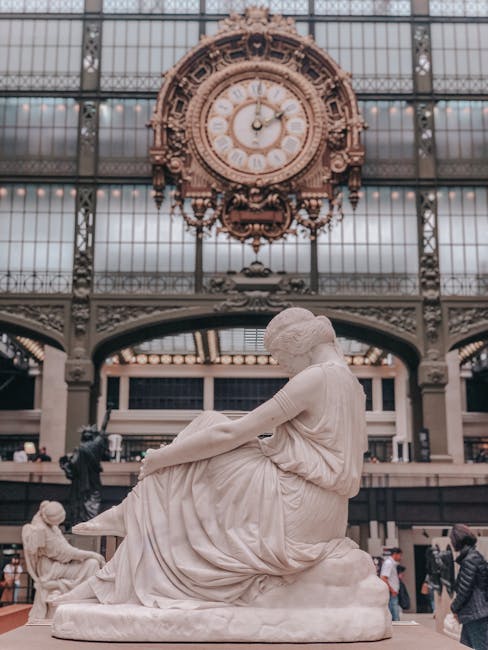
The best images tell a story. At ground level, the foreground isn’t just decorative — it becomes the protagonist. Choose a detail that carries information — a decorative manhole cover, a subway ticket left on the pavement, a bike leaning against a railing — and make it converse with an identifiable background, like the entrance of the Musée d’Orsay (1 Rue de la Légion d’Honneur, 75007 Paris, hours 09:30–18:00, closed Monday, entry price around €16). By including a human element (a pedestrian’s feet, a blurred silhouette), you give scale and life to the image.
Vary the tempos: a short series (3 to 6 images) showing the same scene at different times — morning, rain, evening — makes a powerful mini visual story for a portfolio. Also try juxtaposition: a very low shot of hands holding a coffee in front of the Panthéon (Place du Panthéon, 75005 Paris) can contrast intimacy and monumentality.
Practical tips:
- Managing crowds: find a low angle with a discreet obstacle (artistic bin, bench) to define your space without blocking others.
- Weather: after rain, hunt puddles. A misty morning gives soft, mysterious backgrounds.
- Lighting: golden hour and blue hour deliver dramatic results at ground level.
Conclusion: make low angles part of your urban practice
Shooting at ground level is an accessible, rewarding discipline. It reconfigures your gaze: you become attentive to textures, lines and the micro-stories a city offers. With a few simple gestures — placing the camera low, choosing a large depth of field, playing with reflections — you can turn a banal shot into a striking image capable of stopping a feed or dressing a bedroom wall.
For thirty-something travelers, often equipped with a capable smartphone, the low angle is an efficient way to make the most of limited time on site. You don’t need hours: a short half-hour walk at sunrise or sunset can fill your photo folder with fresh perspectives. Combine preparation (scouting via Google Maps or Street View), light gear (flexible tripod, microfiber cloth, remote) and respect for places and people for a responsible practice.
Finally, make these images testimonies: note the exact address and time of capture, keep a few framing variations and share your results with a contextual caption (place name, address, shooting conditions, settings). That enriches your eye and helps other photographers reproduce the approach. Whether you’re on the Sacré-Cœur steps, facing the Eiffel Tower on the Champ de Mars, or on the cobbles of Place de la Concorde, let the ground tell the next chapter of your urban stories.